DIY Solar Panel Installation: A Step-by-Step Guide for Beginners
Ki
Understanding the Basics of Solar Power
As the world moves towards renewable energy, solar power has become an attractive option for many homeowners. Installing solar panels can significantly reduce electricity bills and environmental impact. However, the thought of setting up a solar panel system might seem daunting to beginners. This guide aims to simplify the process, making it accessible and straightforward for anyone interested in DIY solar panel installation.
Gathering Necessary Materials and Tools
Before beginning your solar panel installation, it's crucial to have all the necessary materials and tools. You'll need solar panels, a charge controller, a power inverter, batteries (for off-grid systems), mounting hardware, and appropriate wiring. On the tools side, ensure you have a drill, screwdrivers, wrenches, and a ladder. It's essential to purchase quality components to ensure the longevity and efficiency of your solar panel system.
When sourcing materials, consider consulting with a supplier or professional to ensure compatibility between components. Compatibility can affect the efficiency and safety of your solar setup. Remember, investing in high-quality materials will pay off in performance and durability.
Site Assessment and Panel Placement
One of the most critical steps in solar panel installation is choosing the right location for your panels. You want to maximize sunlight exposure; hence, selecting a place with minimal shading throughout the day is essential. Roofs are the most common locations for solar panels, but ground installations are also viable if roof space is unavailable or unsuitable.
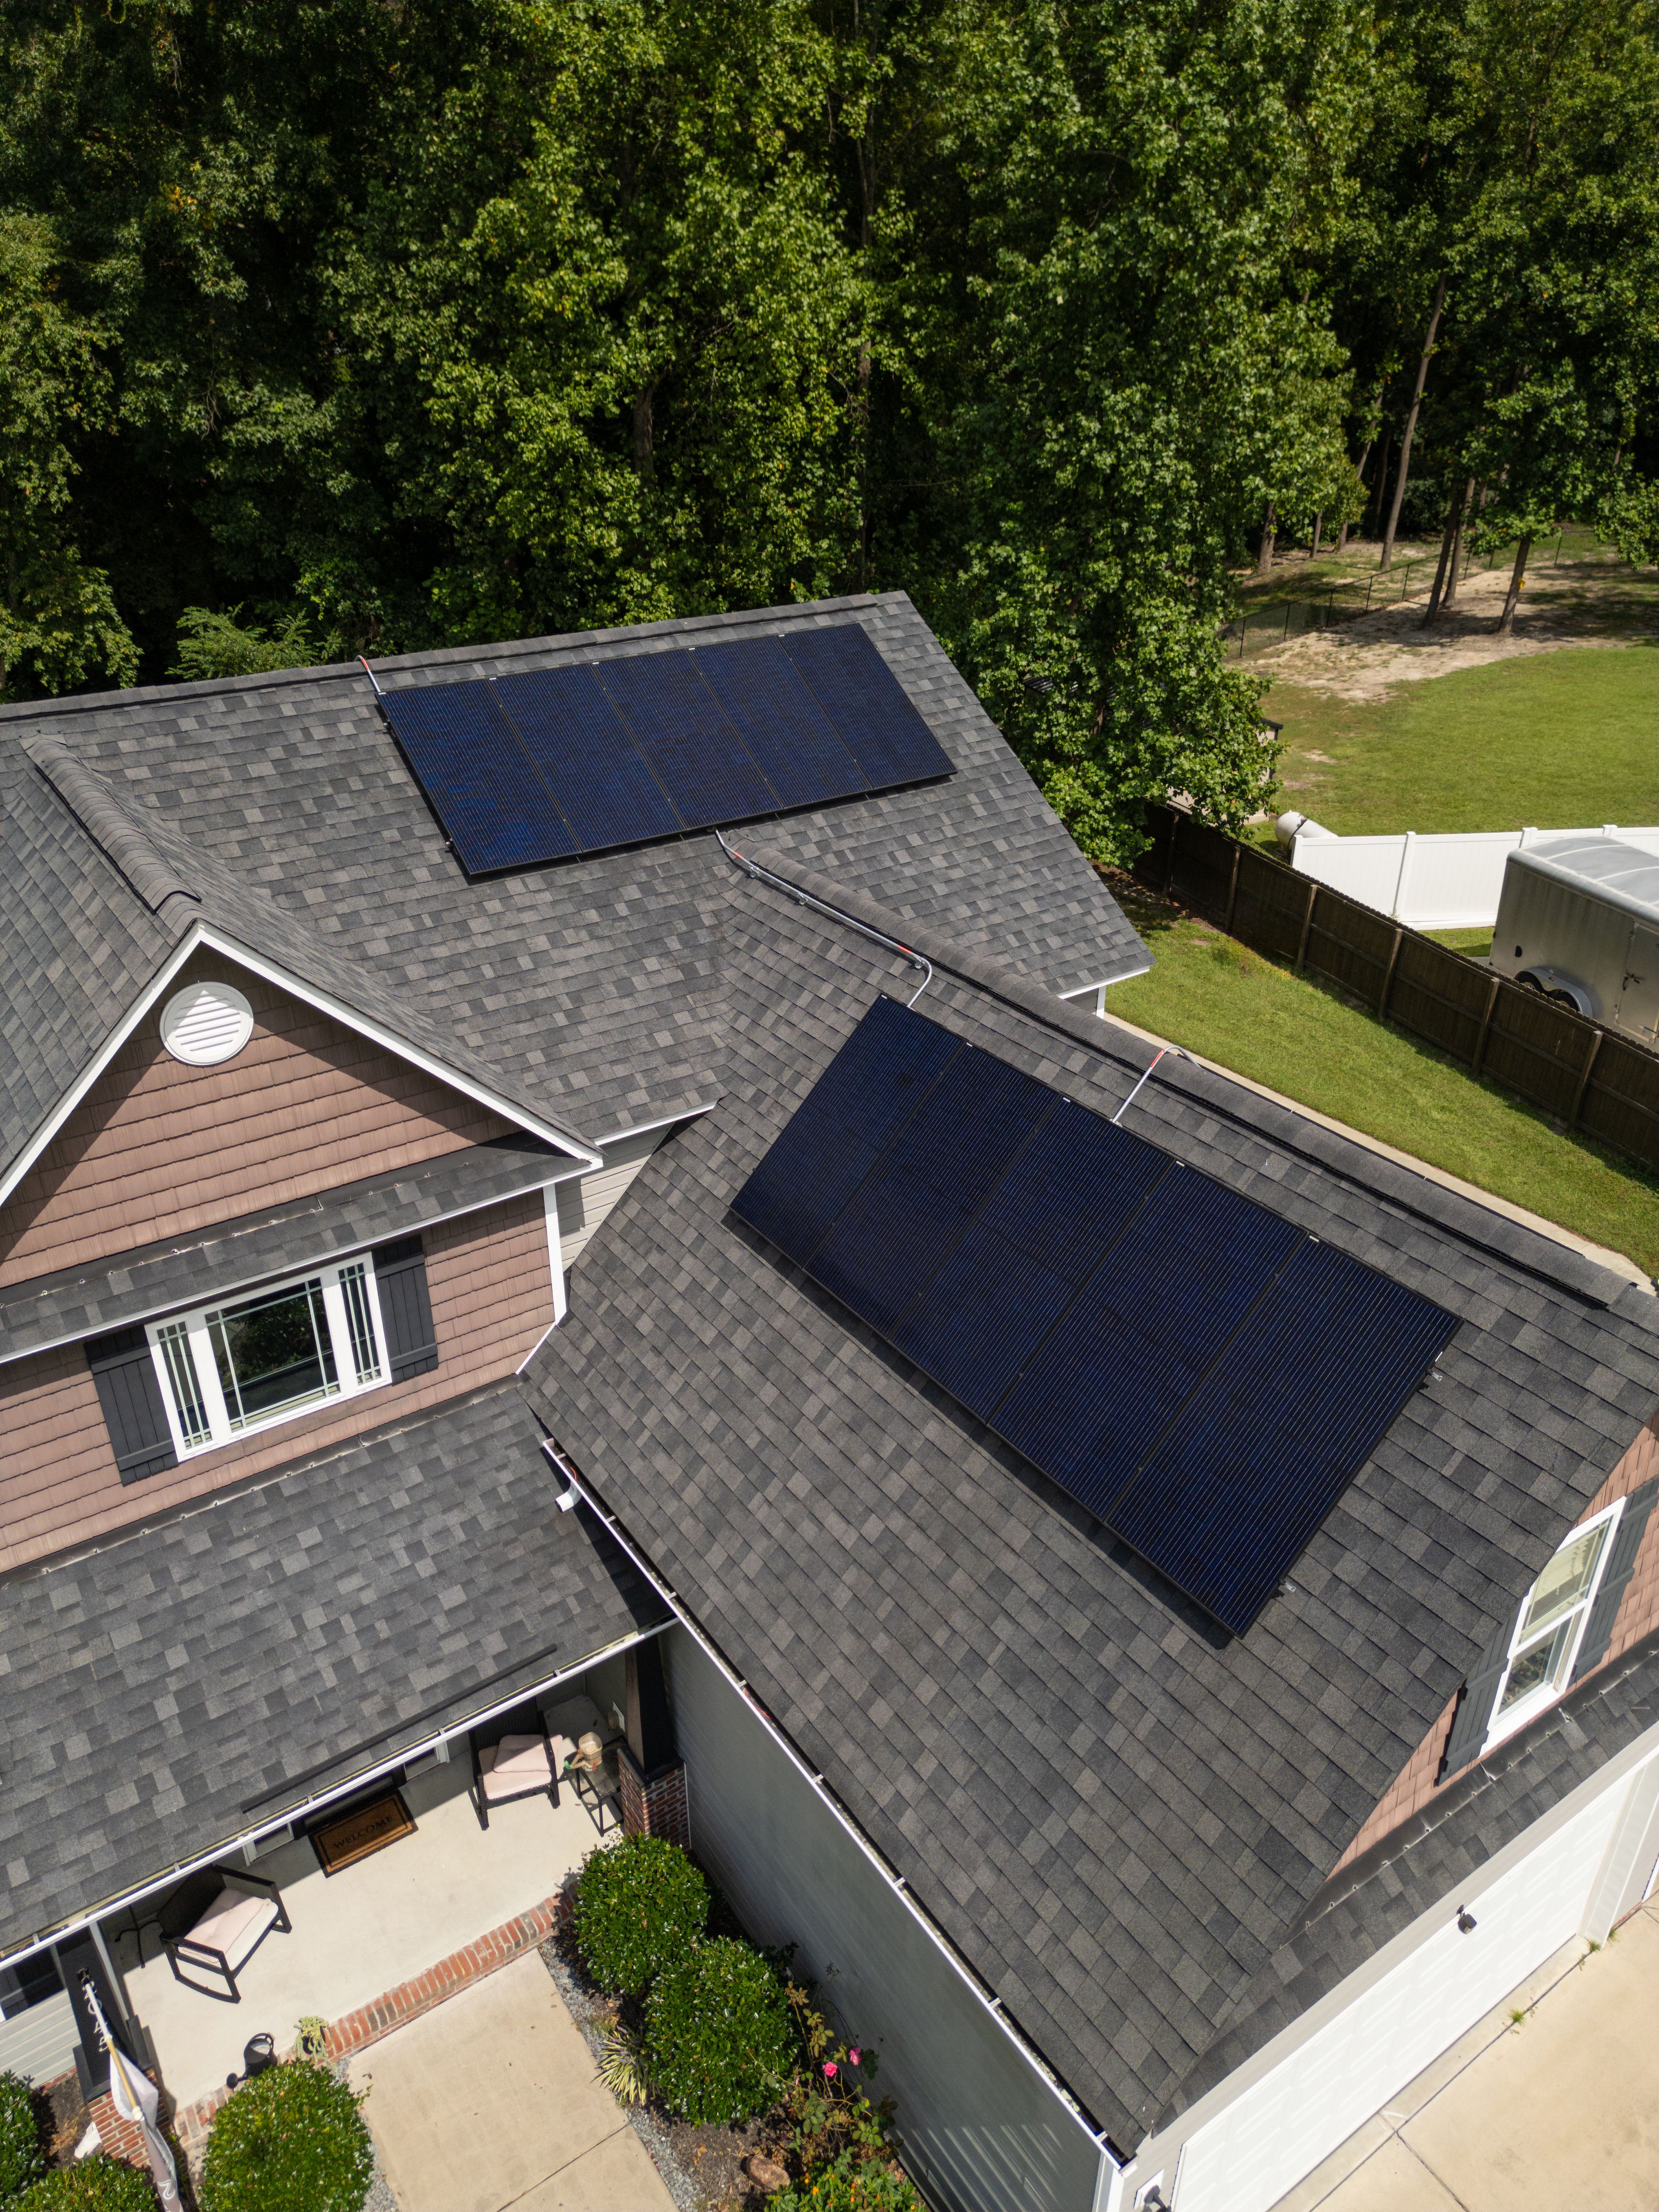
Conduct a thorough site assessment to determine the best position and angle for your panels. Typically, panels should face true south in the northern hemisphere and true north in the southern hemisphere. Adjusting the tilt angle based on your latitude will also help optimize energy production.
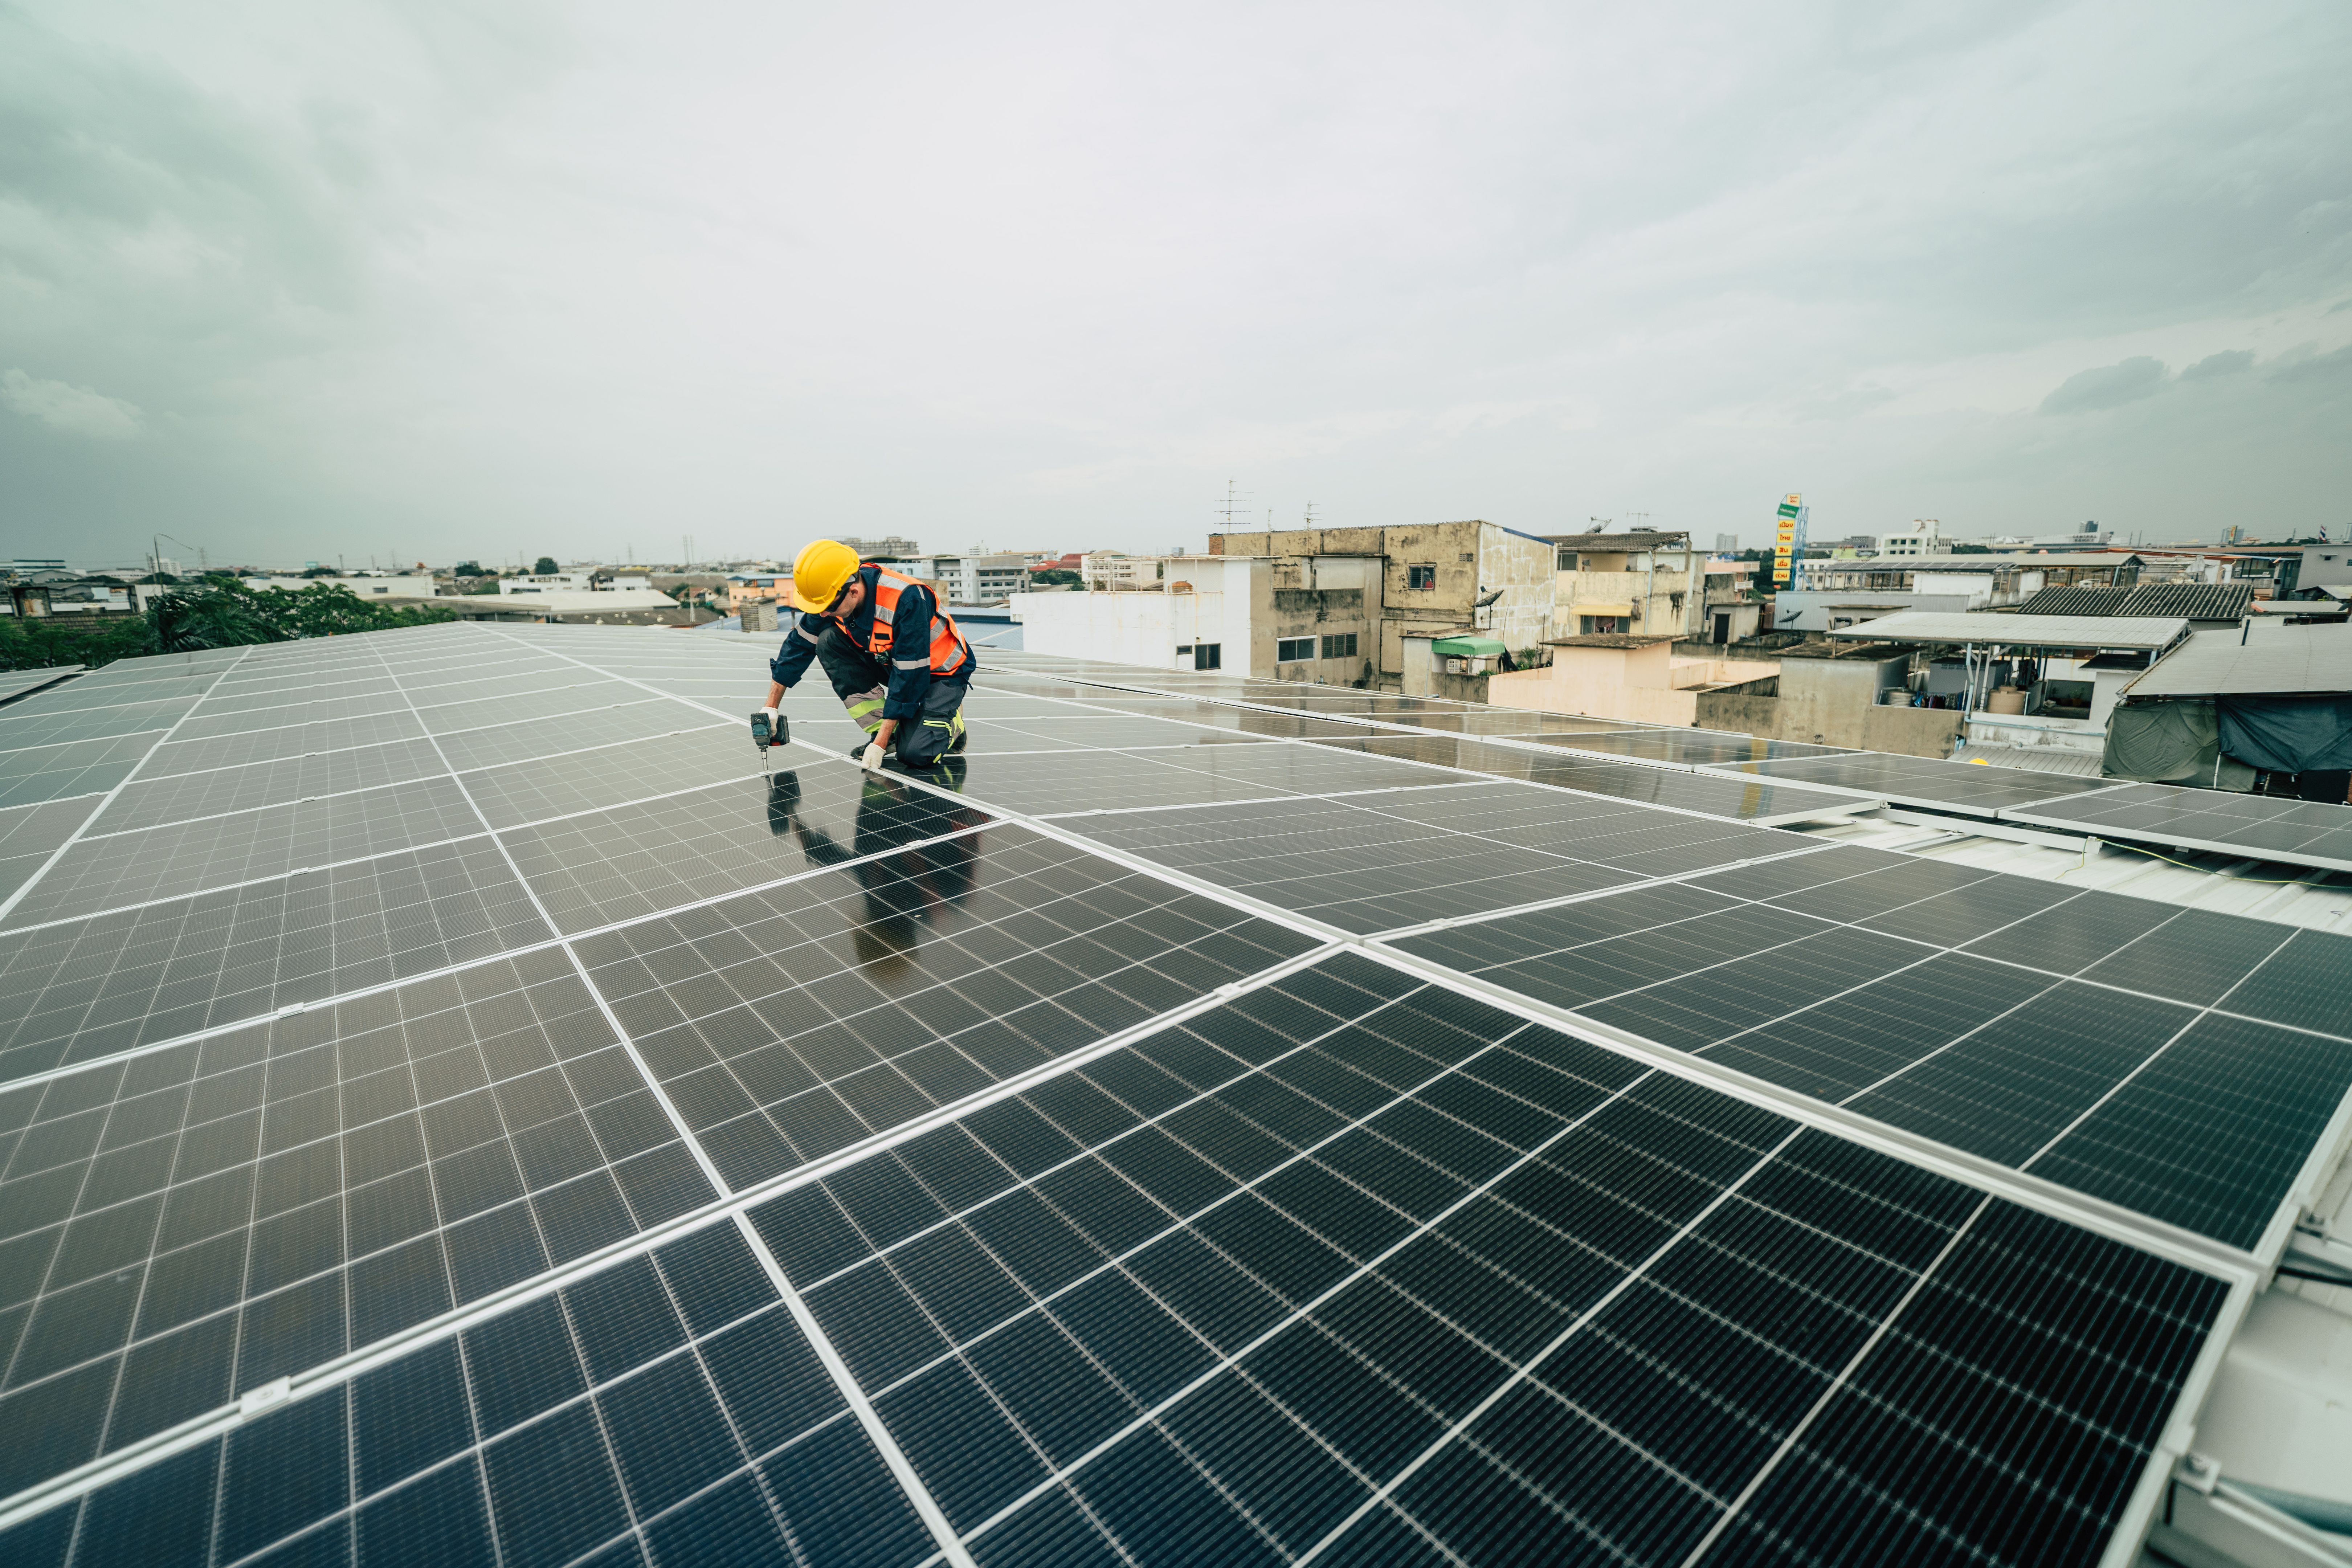
Installing the Mounting System
Once you've determined the optimal location for your panels, it's time to install the mounting system. This system will support your solar panels and keep them secure against wind and weather conditions. Follow the manufacturer's instructions carefully when setting up the mounts, ensuring all brackets are tightly secured.
Typically, roof installations require attaching mounts directly to roof rafters for stability. If you are unsure about drilling into your roof or handling this aspect of installation yourself, consider hiring a professional to avoid potential roof damage.
Wiring Your Solar Panels
The next step involves wiring your solar panels. Begin by connecting your panels in series or parallel, depending on your desired voltage and current output. It's crucial to follow electrical safety standards during this process to prevent accidents. Wear protective gear and double-check connections before proceeding.

After wiring the panels, connect them to a charge controller to manage the flow of electricity from panels to batteries (if applicable). This connection helps prevent overcharging and extends battery life. Finally, link the charge controller to an inverter, which converts DC power from the panels into AC power that can be used in your home.
Final Checks and System Activation
With everything connected, perform a thorough check of your entire system. Ensure all connections are secure and double-check that no wires are exposed or improperly connected. Test the voltage output to confirm that your system is functioning correctly before activating it.
If everything is in order, switch on your inverter and enjoy the benefits of renewable energy. Monitor your system's performance regularly to ensure it continues operating efficiently. Routine maintenance, such as cleaning panels and checking connections, will help maintain optimal performance.
Conclusion
Installing solar panels can be a rewarding DIY project that not only reduces your carbon footprint but also saves on energy costs. By following this step-by-step guide, even beginners can successfully harness the power of the sun. Remember that while DIY installation can be cost-effective, consulting professionals for specific tasks can enhance safety and efficiency.